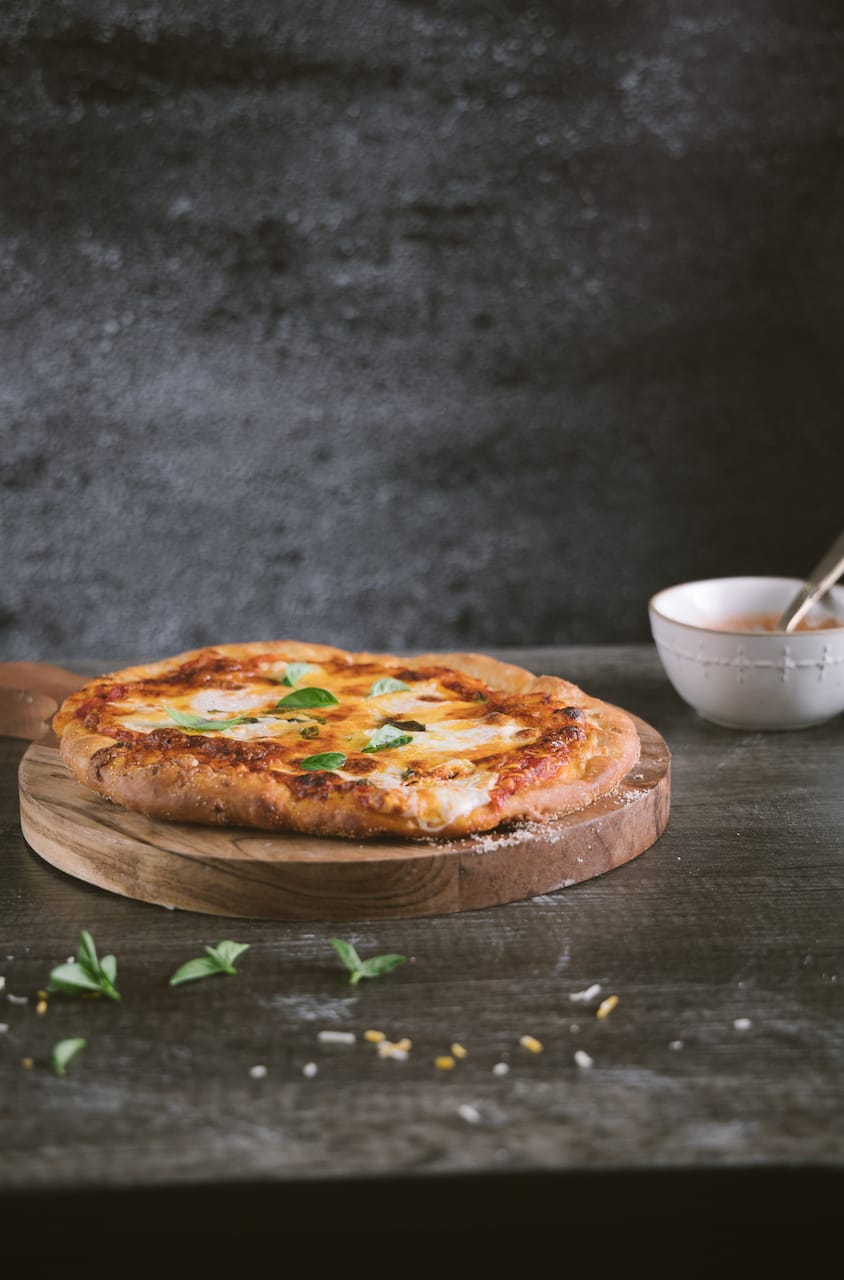
What makes a good Pizza? Is it the toppings or the crust? In my book, both plays a very important role. The foundation is the pizza crust which should have that bite, and crisp texture. The recipe needs no gadget and even if you don’t bake at all, you can make this effortlessly. This is the same technique I use to make my no knead bread, Focaccia with tomato and rosemary. I actually learned this method when I started making sourdough bread and since then I don’t use any stand mixer to make pizza dough or bread dough.
Ingredients for No Knead Pizza
All-purpose flour - Since we don’t eat pizza every day, I don’t mind indulging on all-purpose flour once a week. You can definitely mix it up with whole wheat flour and other grain flours too. Sugar and Salt - Sugar helps to activate the yeast, and you must add salt for flavor. Active Dry Yeast - I personally prefer using active dry yeast. I like to activate the yeast first before adding the flour. Always activate yeast with warm water and sugar. Most days I like to keep the dough plain, but you can enhance the flavor by adding garlic powder and dry herbs to the dough.
Steps to prepare NO Knead Pizza
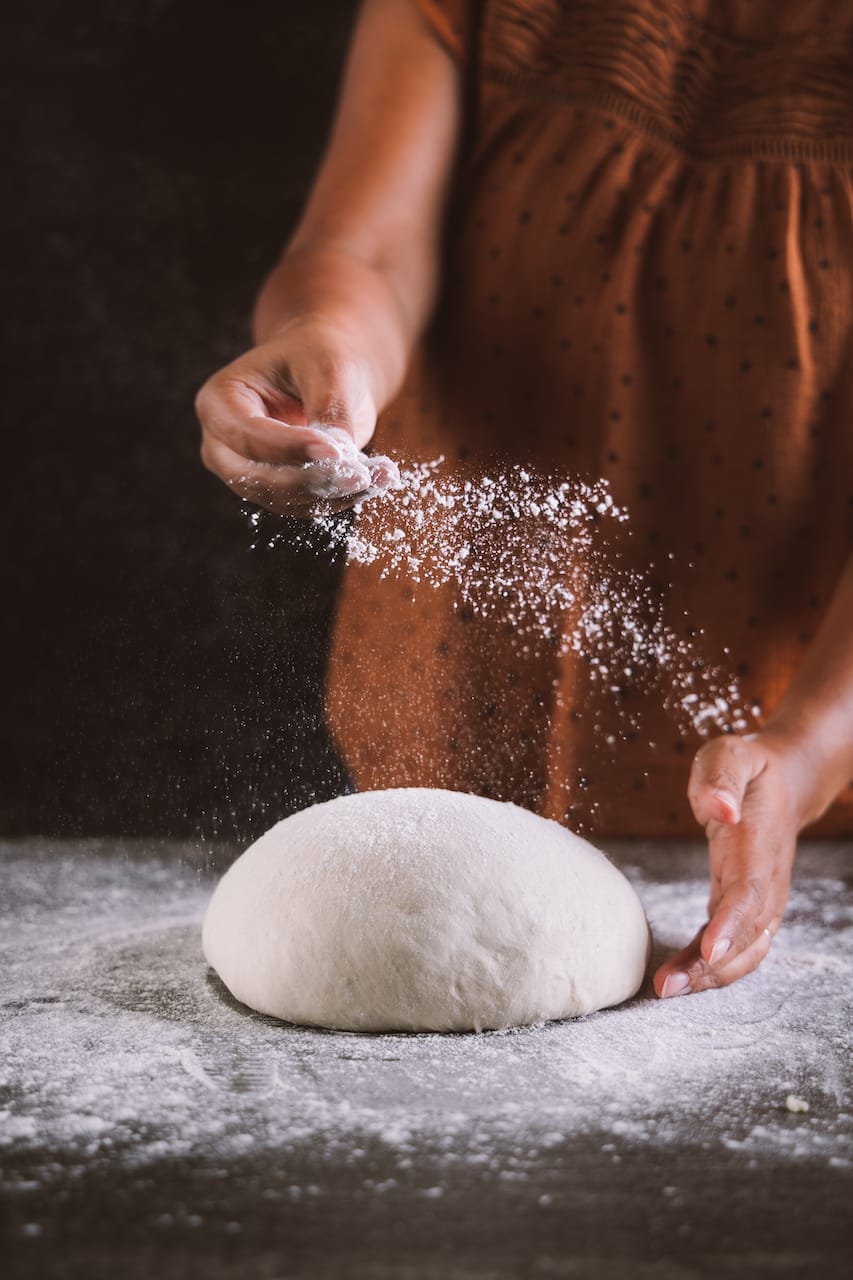
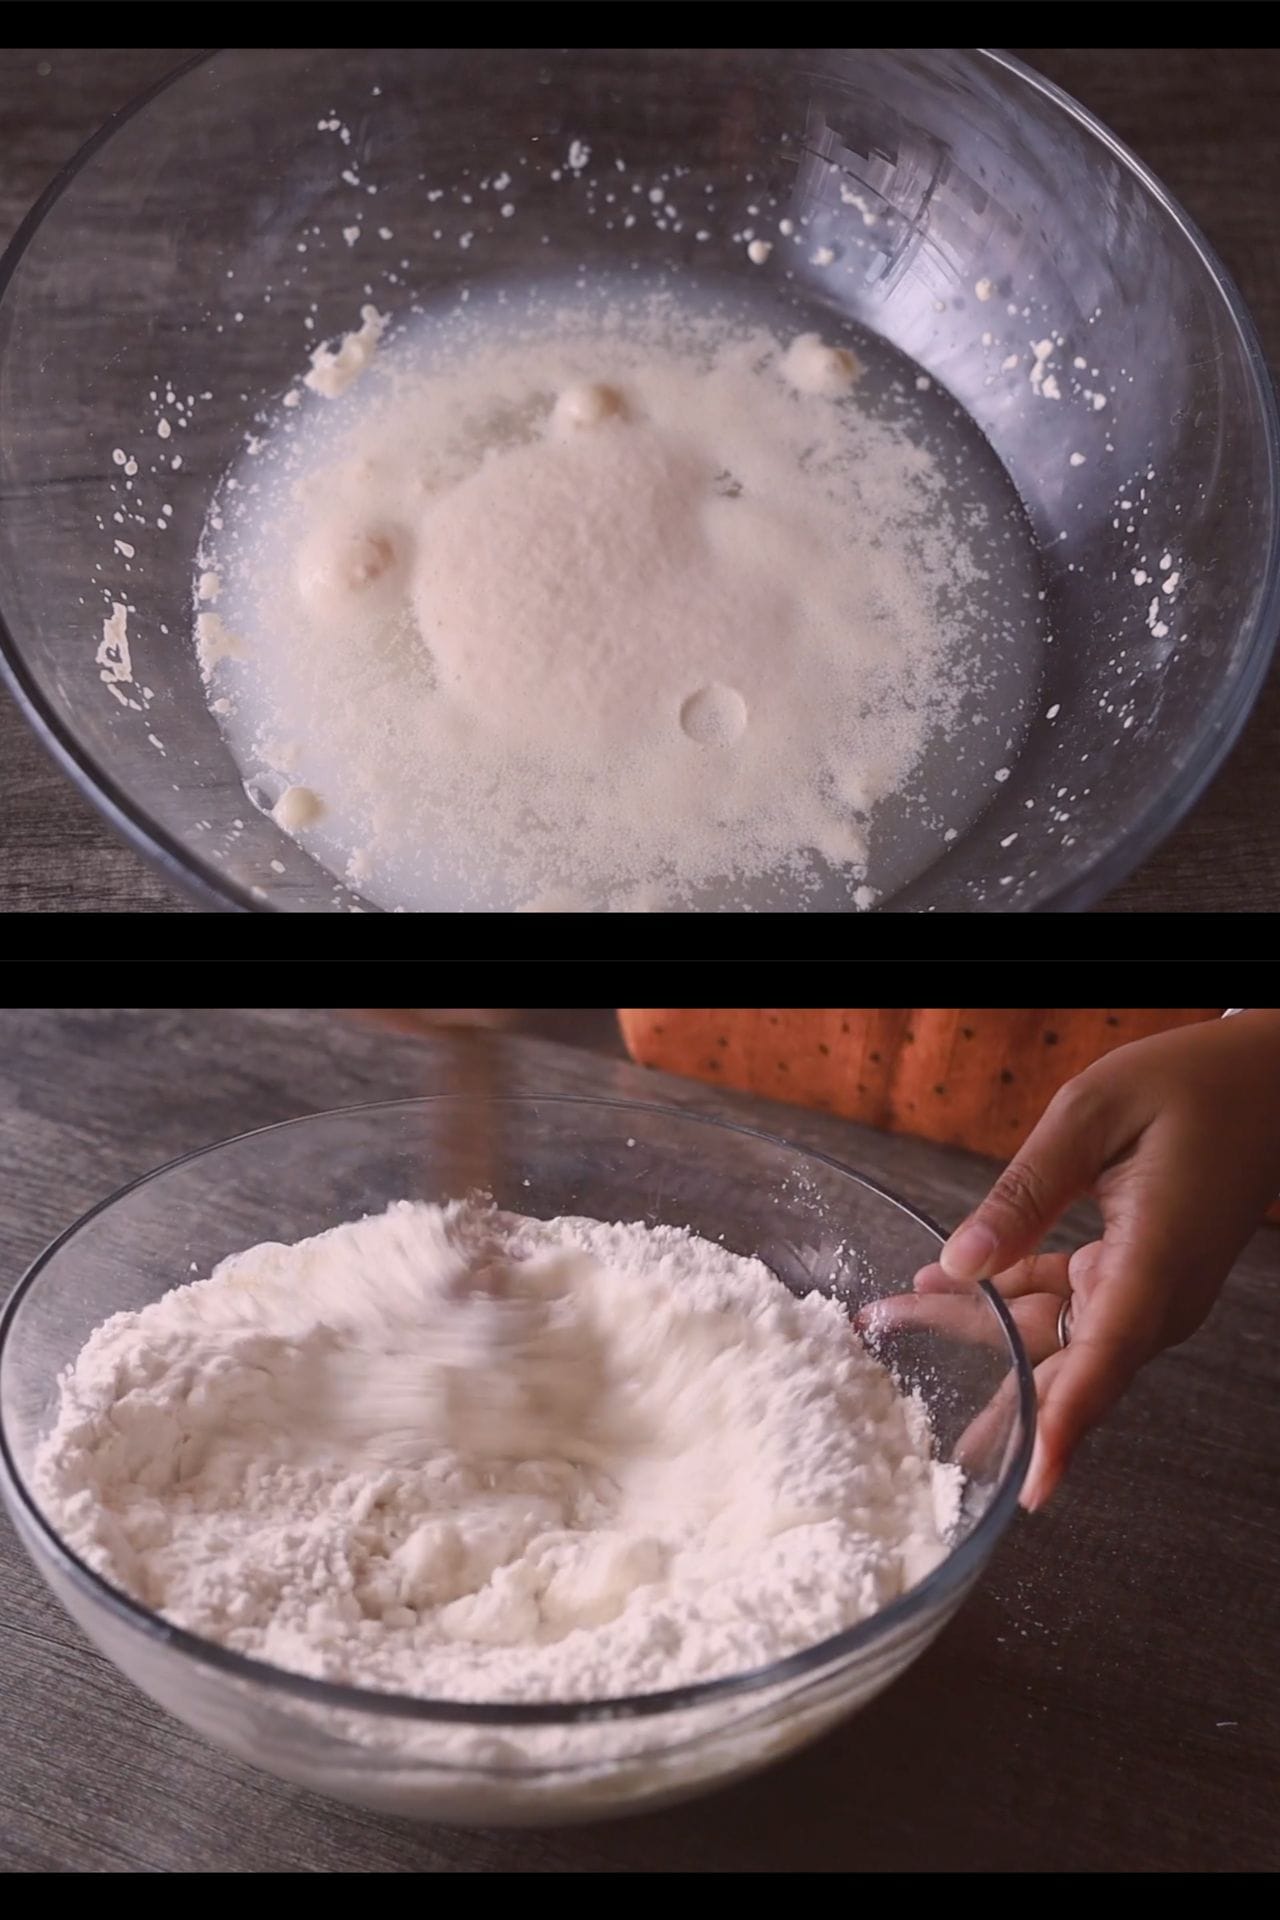
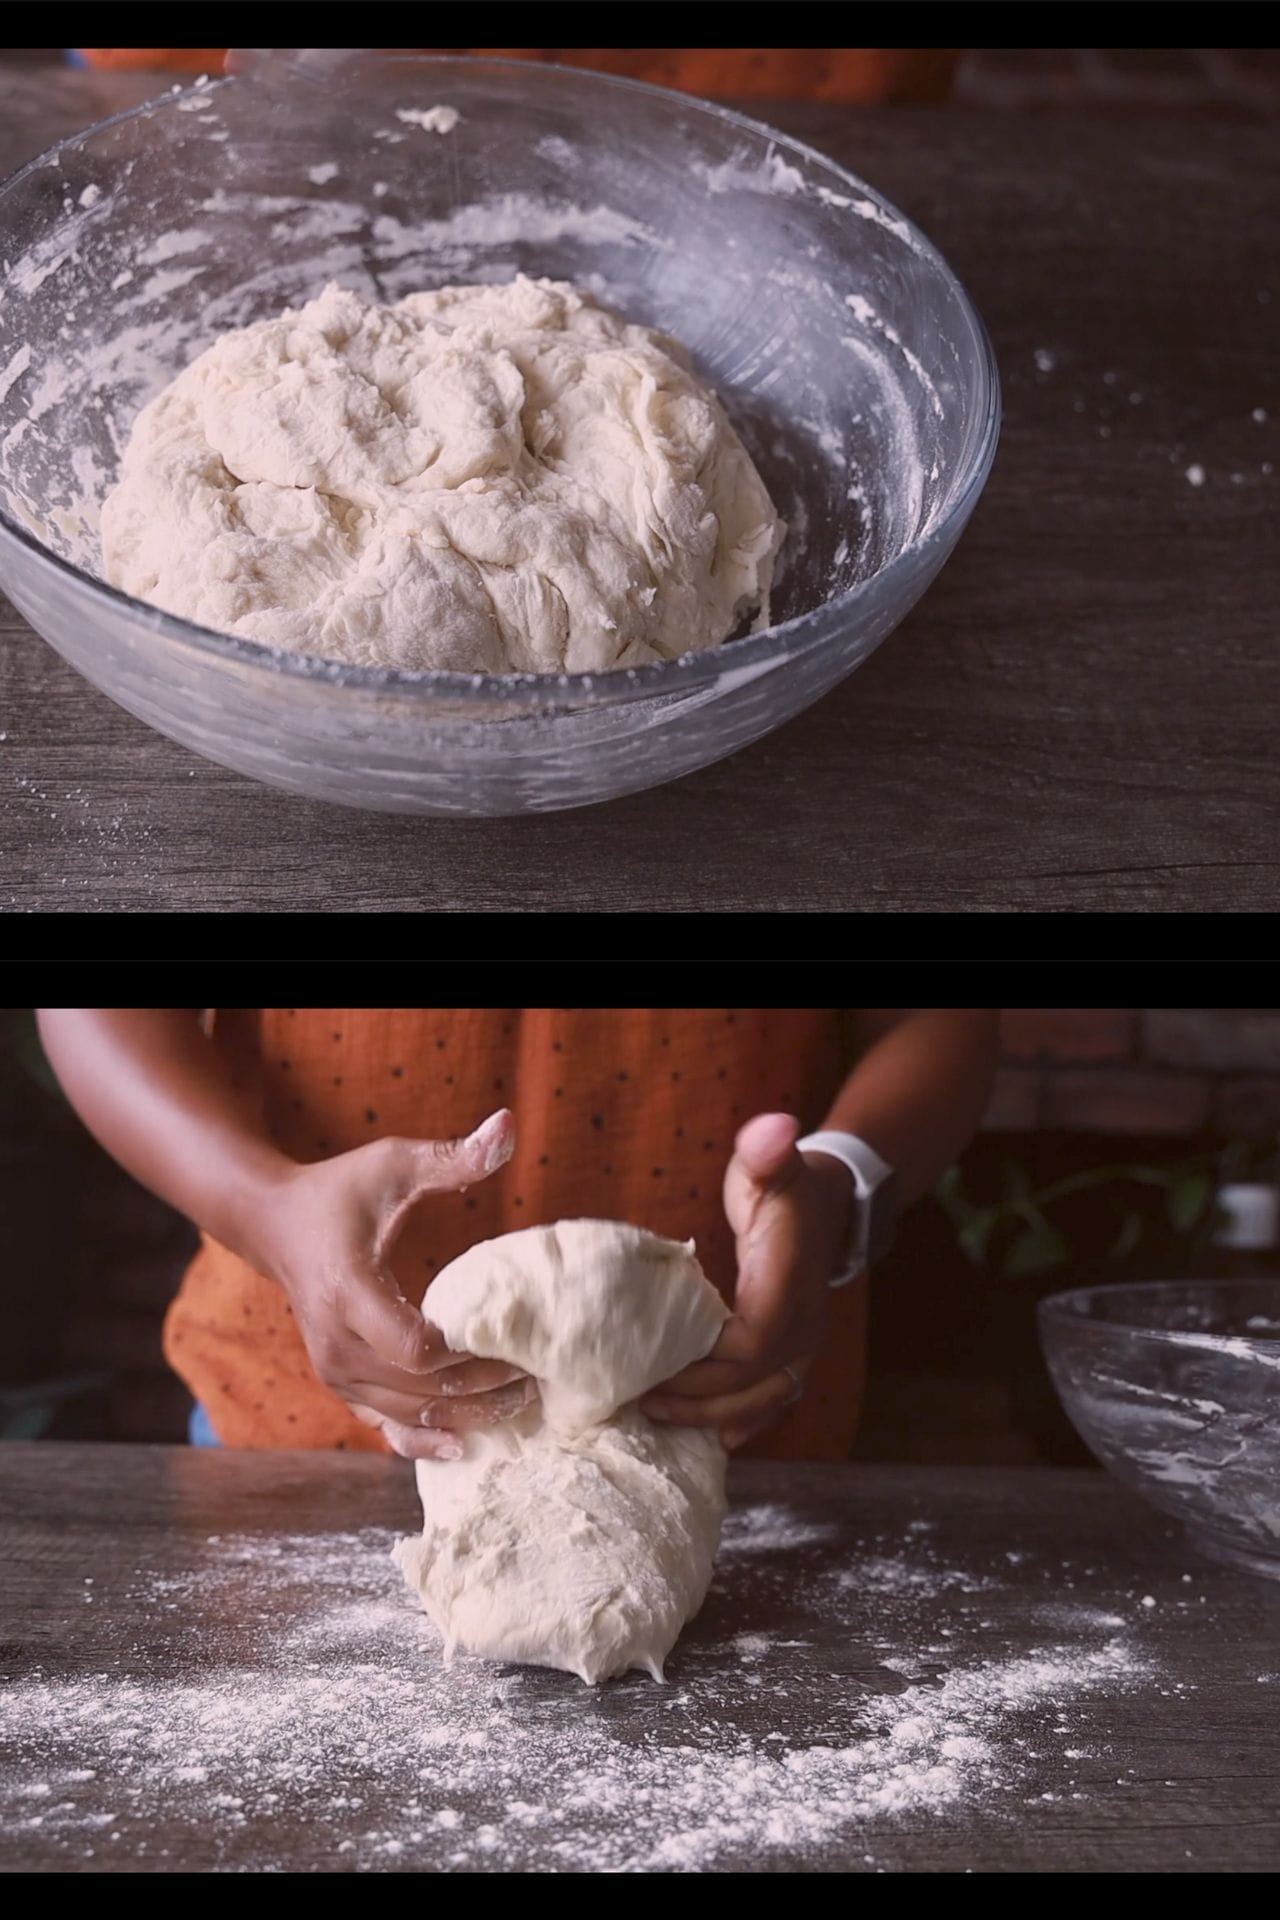
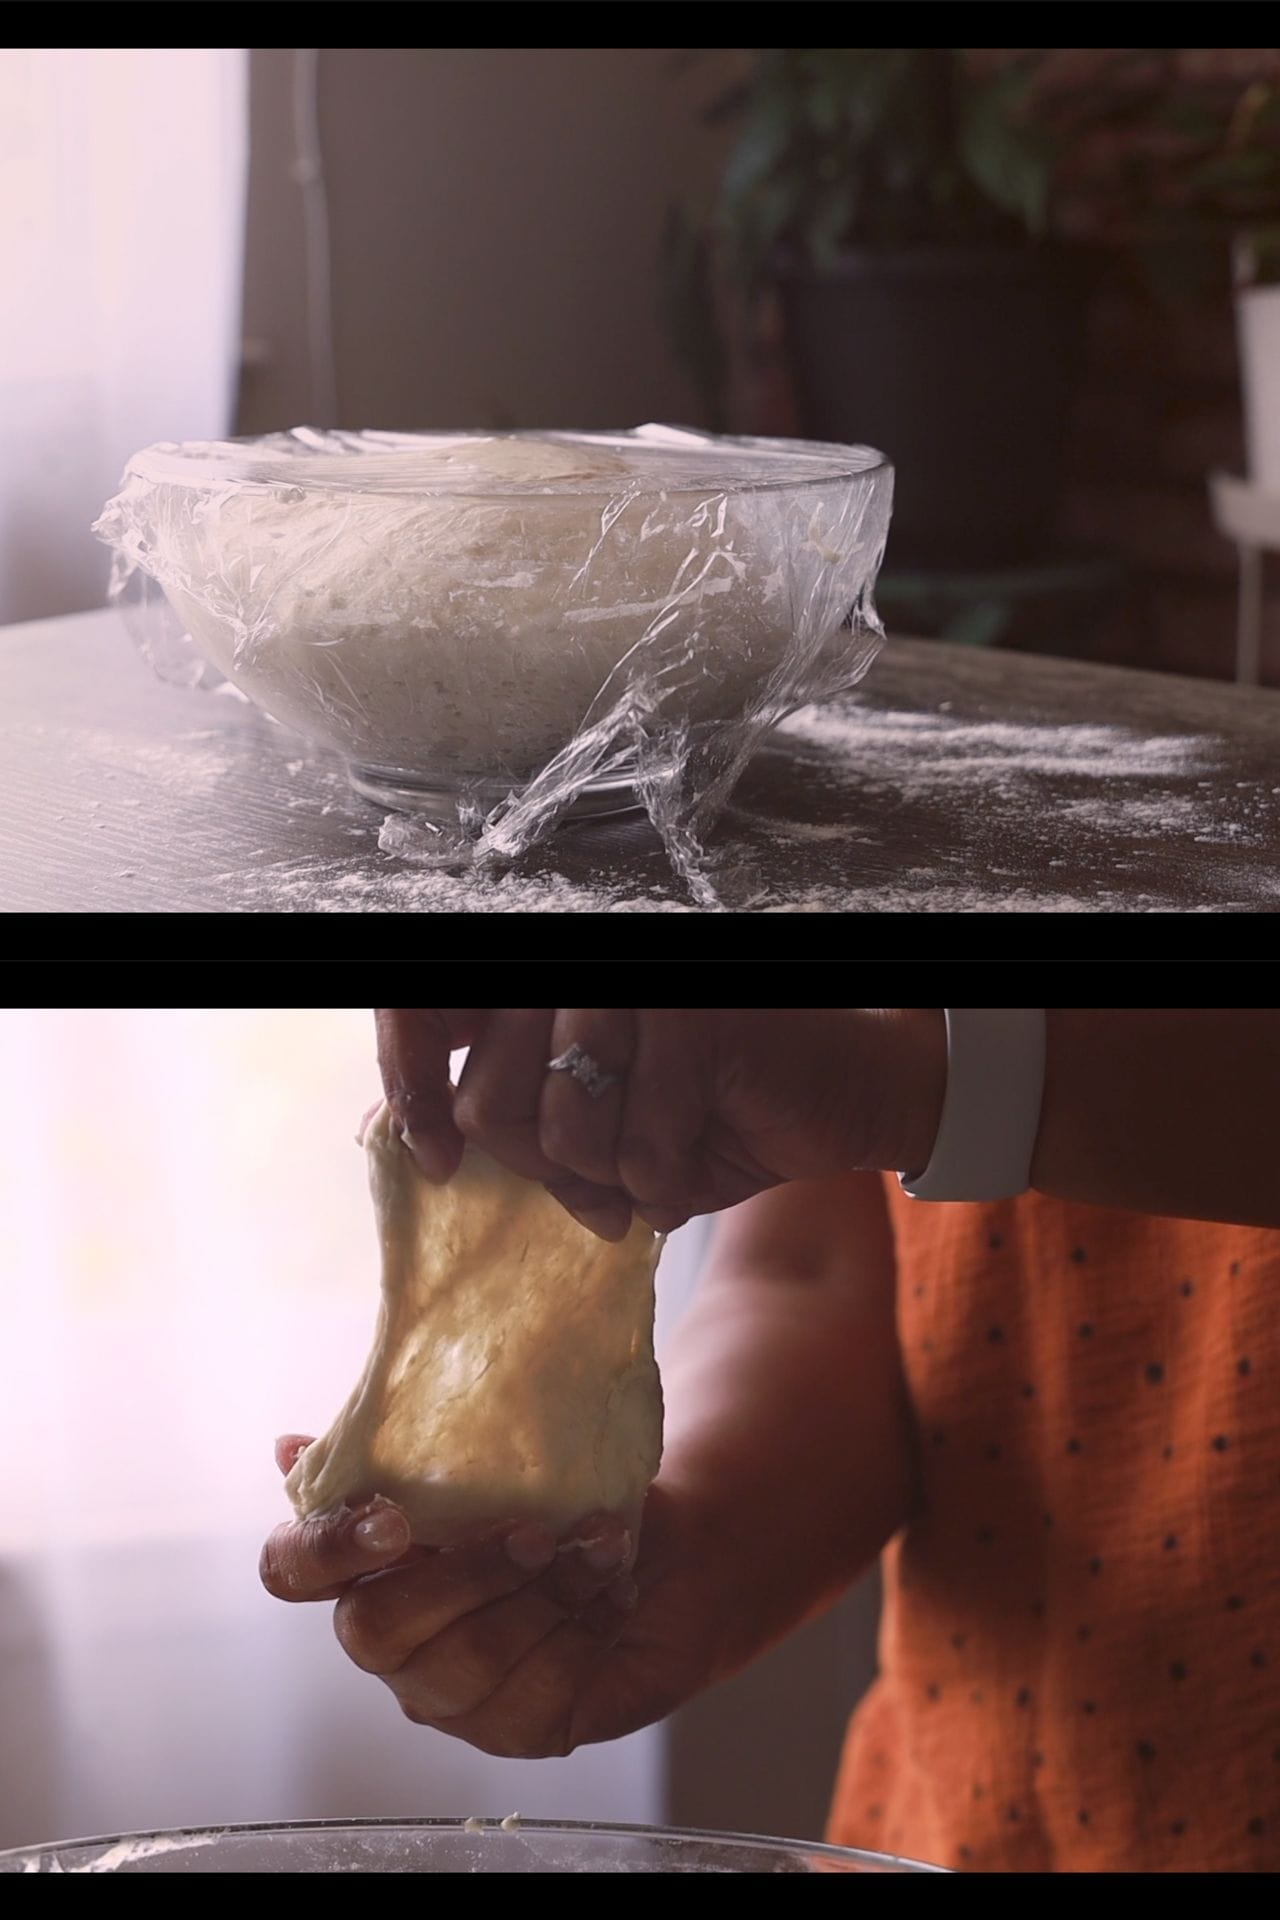
1 - Activate the yeast my add it to a mixing bowl with sugar and warm water. Cover the bowl and leave aside for 5 minutes. If you see foam on top, the yeast is activated. 2- Then add flour and salt and start mixing with a wooden spoon. 3- Using your hand, make sure all the dry flour is incorporated. You don’t have to knead the dough. Cover the bowl and keep aside for 15 minutes. 4- Use the stretch and fold technique to strengthen the dough.
What is stretch and fold technique ?
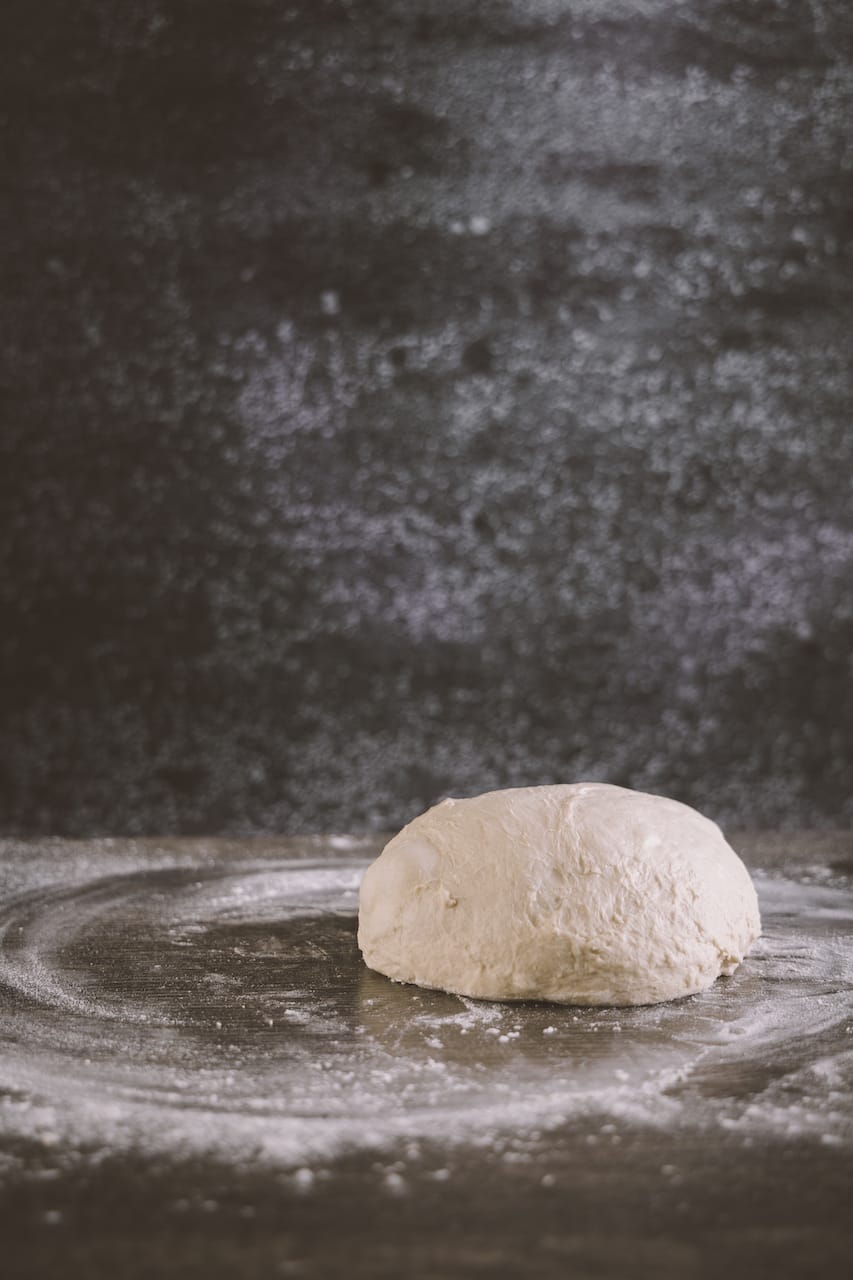
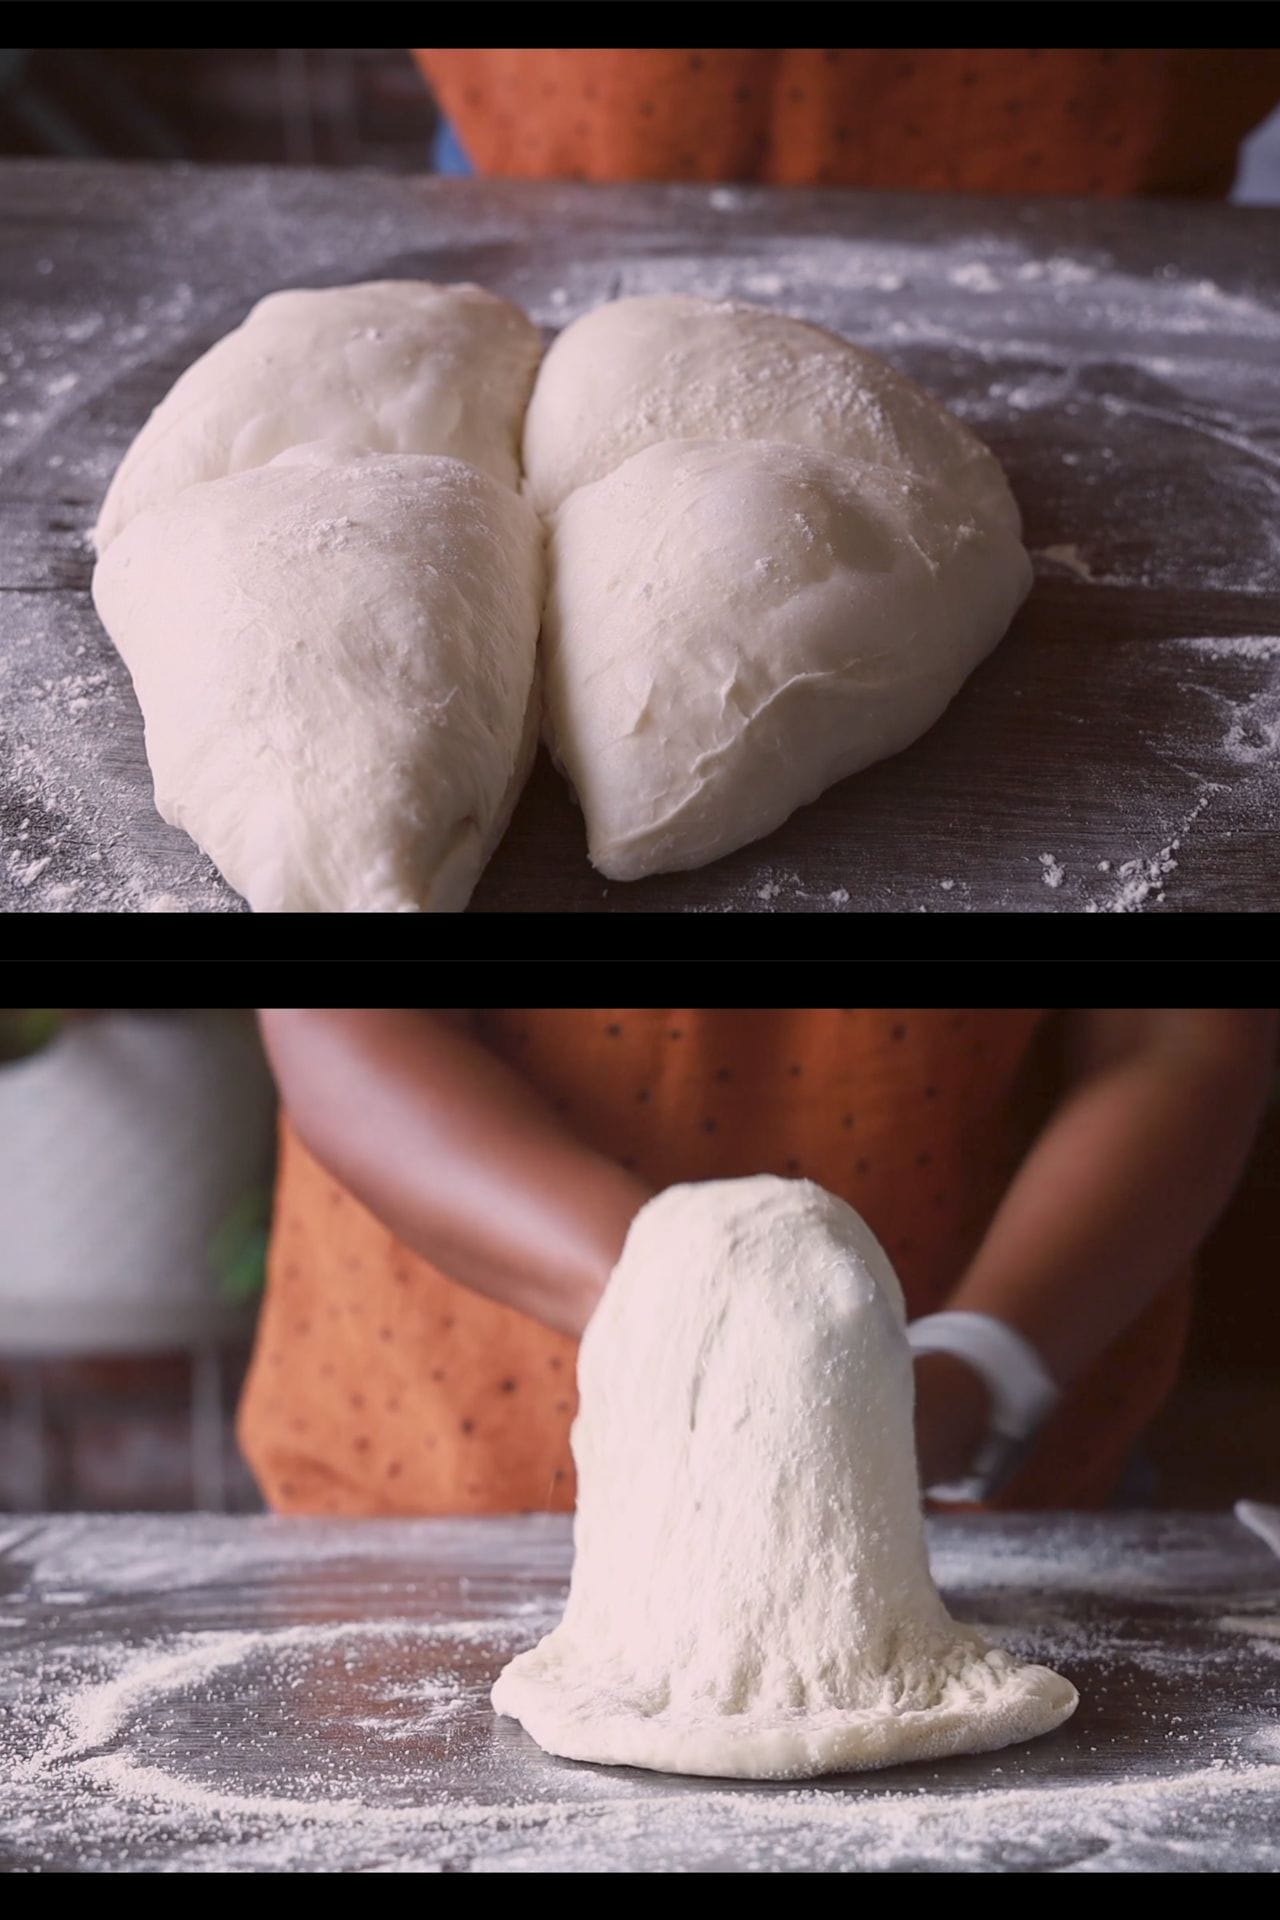
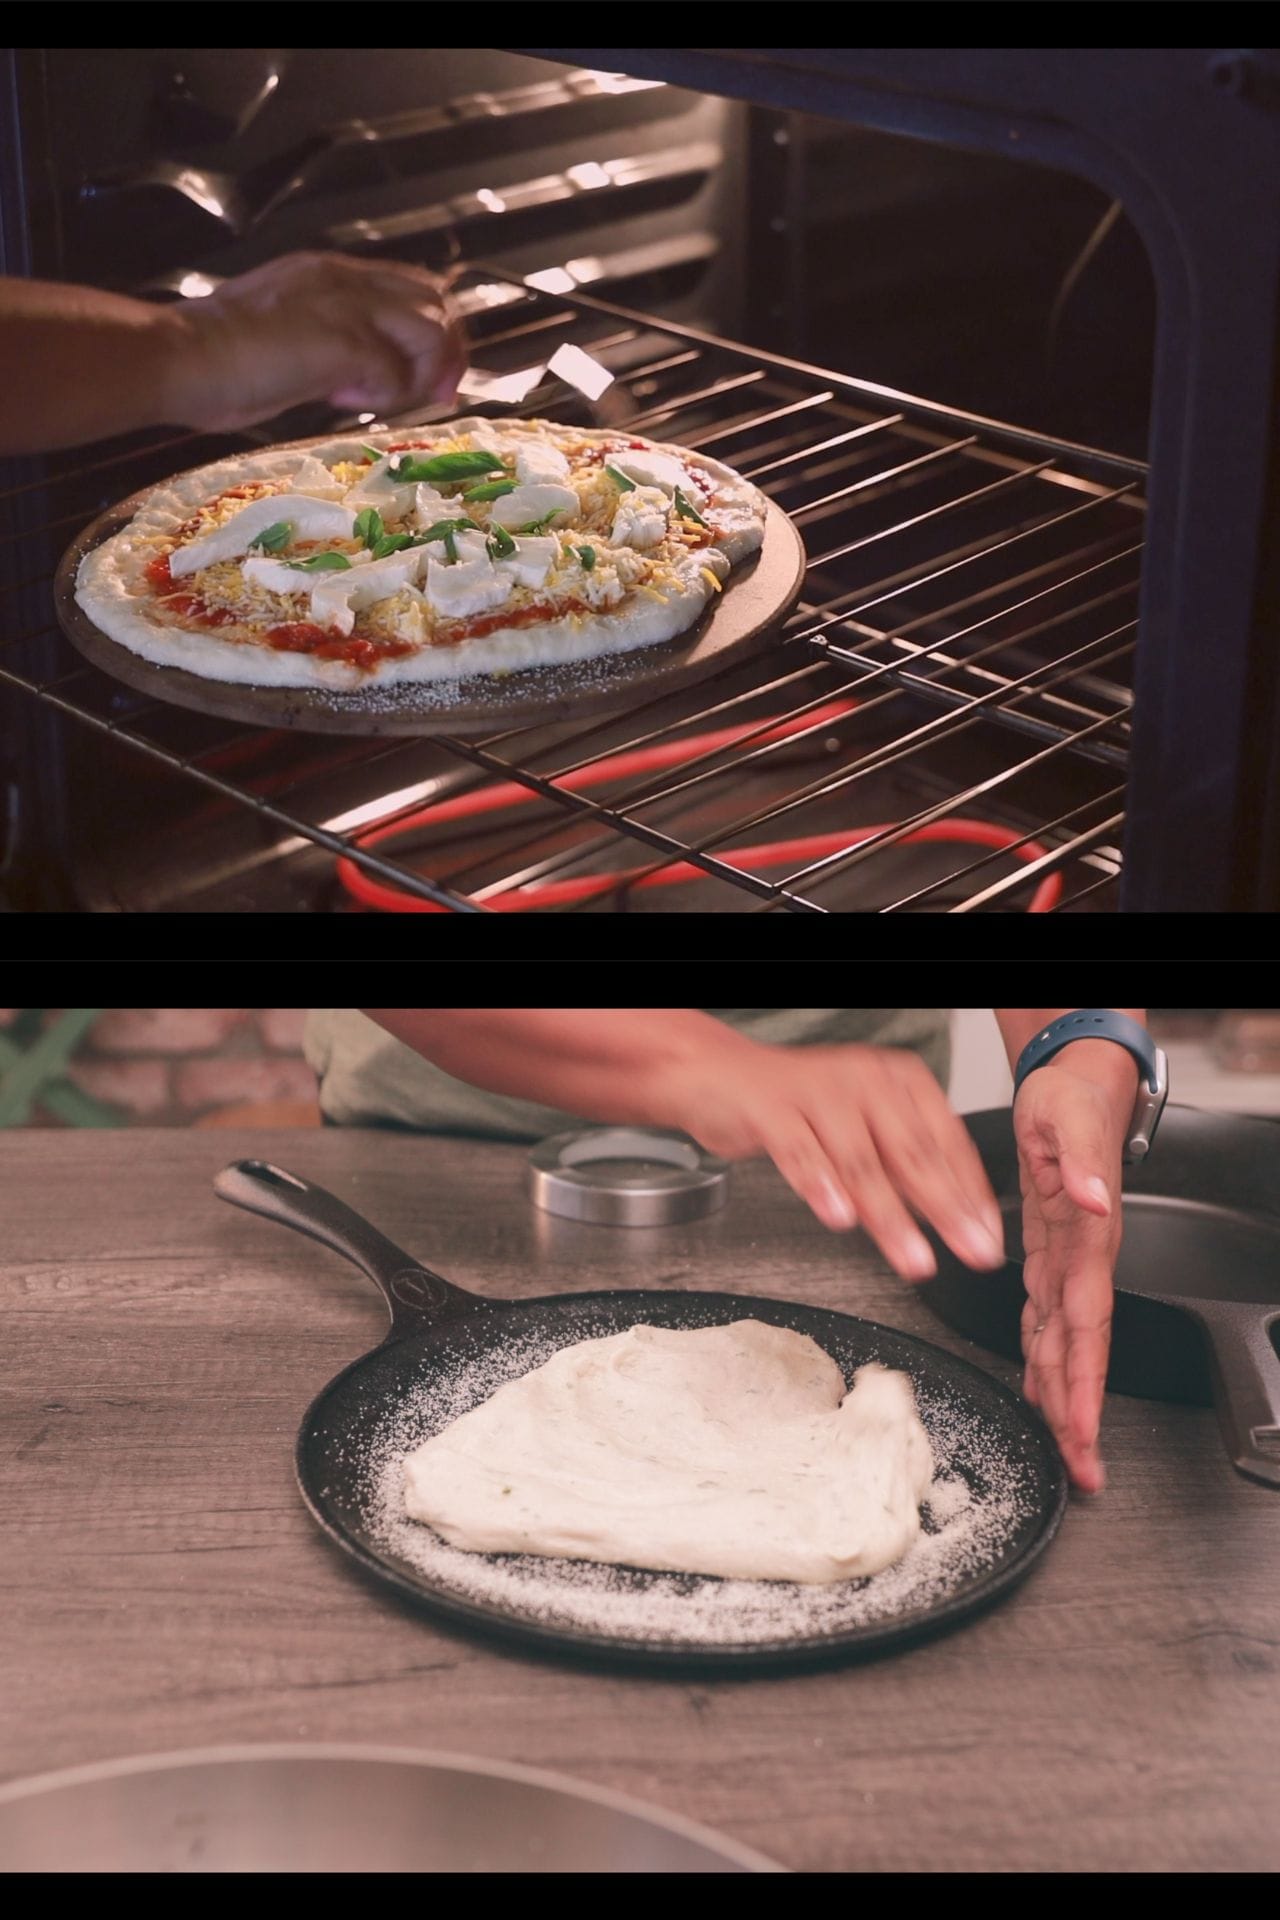
This technique is commonly used when working with sourdough recipe since the dough is more hydrated. More hydrated soft dough creates beautiful airy pockets to the dough which in result creates a gorgeous bite too. You just stretch the dough from one side and fold in over and repeat it on all the side by rotating the bowl. You can also do the same on a table or kitchen counter. WATCH THE DETAILED VIDEO of the recipe to understand the step better. 5- Let the dough rest until it doubles in size. 6- Do the windowpane test. A windowpane test is the best way to find out if your dough has developed enough gluten. After doing a couple stretch and fold and letting the dough rest for a while in between, take a small ball of the dough and stretch it gently into a rectangular form. It should stretch thin without breaking apart and when you face it towards light, light should pass through like a windowpane. Hence, the name window pane test. 7 - Divide the dough into four or 2 portions, depending on how big you want your pizza. Shape the smaller portions into balls and cover for 30 minutes. 8- Shape the pizza by stretching it gently. Don’t use a rolling pin. Rolling in will take away all the air pockets that were created in the dough. Add some semolina on the board and that will help the dough from not sticking to the board. 9- To bake the pizza, you can either use a preheated pizza stone or use a cast iron pan. I sometime find it difficult to transfer the pizza to a hot pizza stone. So, instead, I shape it on a cold cast iron skillet with semolina in the bottom of the pan.
CAN YOU MAKE THE DOUGH IN ADVANCE ?
YES! You can make the dough in advance. You can set the dough rise overnight in the fridge. The dough can stay in the fridge for 2 days max. If you need to keep it longer, I would suggest you freeze the dough. Avyan loves pizza, and we have pizza night at least once a week. For a very long time, I made flatbread in the name of pizza. Once I got the hang of this easy pizza dough recipe with a lot of trial and error, homemade pizza has become a regular Friday activity now. He helps me to shape the dough and tried to flatten the dough and even if it’s not the perfect circle, we don’t really care. You can say we like this rustic pizza! Also try this mushroom pizza, a great vegetarian version!